In this guide, you’ll learn how to overclock RAM safely, step by step. We’ll cover everything from system preparation and essential tools to enabling XMP/EXPO profiles, manual tuning basics, and stability testing so you can improve performance without risking system stability.
If you’re still not clear on what RAM overclocking is, including its benefits and potential risks, we recommend reading our article “Overclocking RAM Guide: What It Is, How It Works, and Is It Safe?” first before deciding to proceed.
A successful RAM overclock starts with proper system preparation. Without the right setup and baseline, it becomes difficult to measure improvements or diagnose instability later.
Not all systems are designed for memory overclocking. Support depends on:
Most modern platforms support memory tuning through features like XMP (Intel) or DOCP/EXPO (AMD), but the level of stability and headroom varies.
Enthusiast-grade motherboards often provide advanced memory tuning tools such as:
Cooling is another critical factor. Although RAM does not generate as much heat as CPUs or GPUs, increased voltage and frequency can still raise temperatures and affect stability. Good case airflow and a capable CPU cooler indirectly help maintain system stability during memory stress.
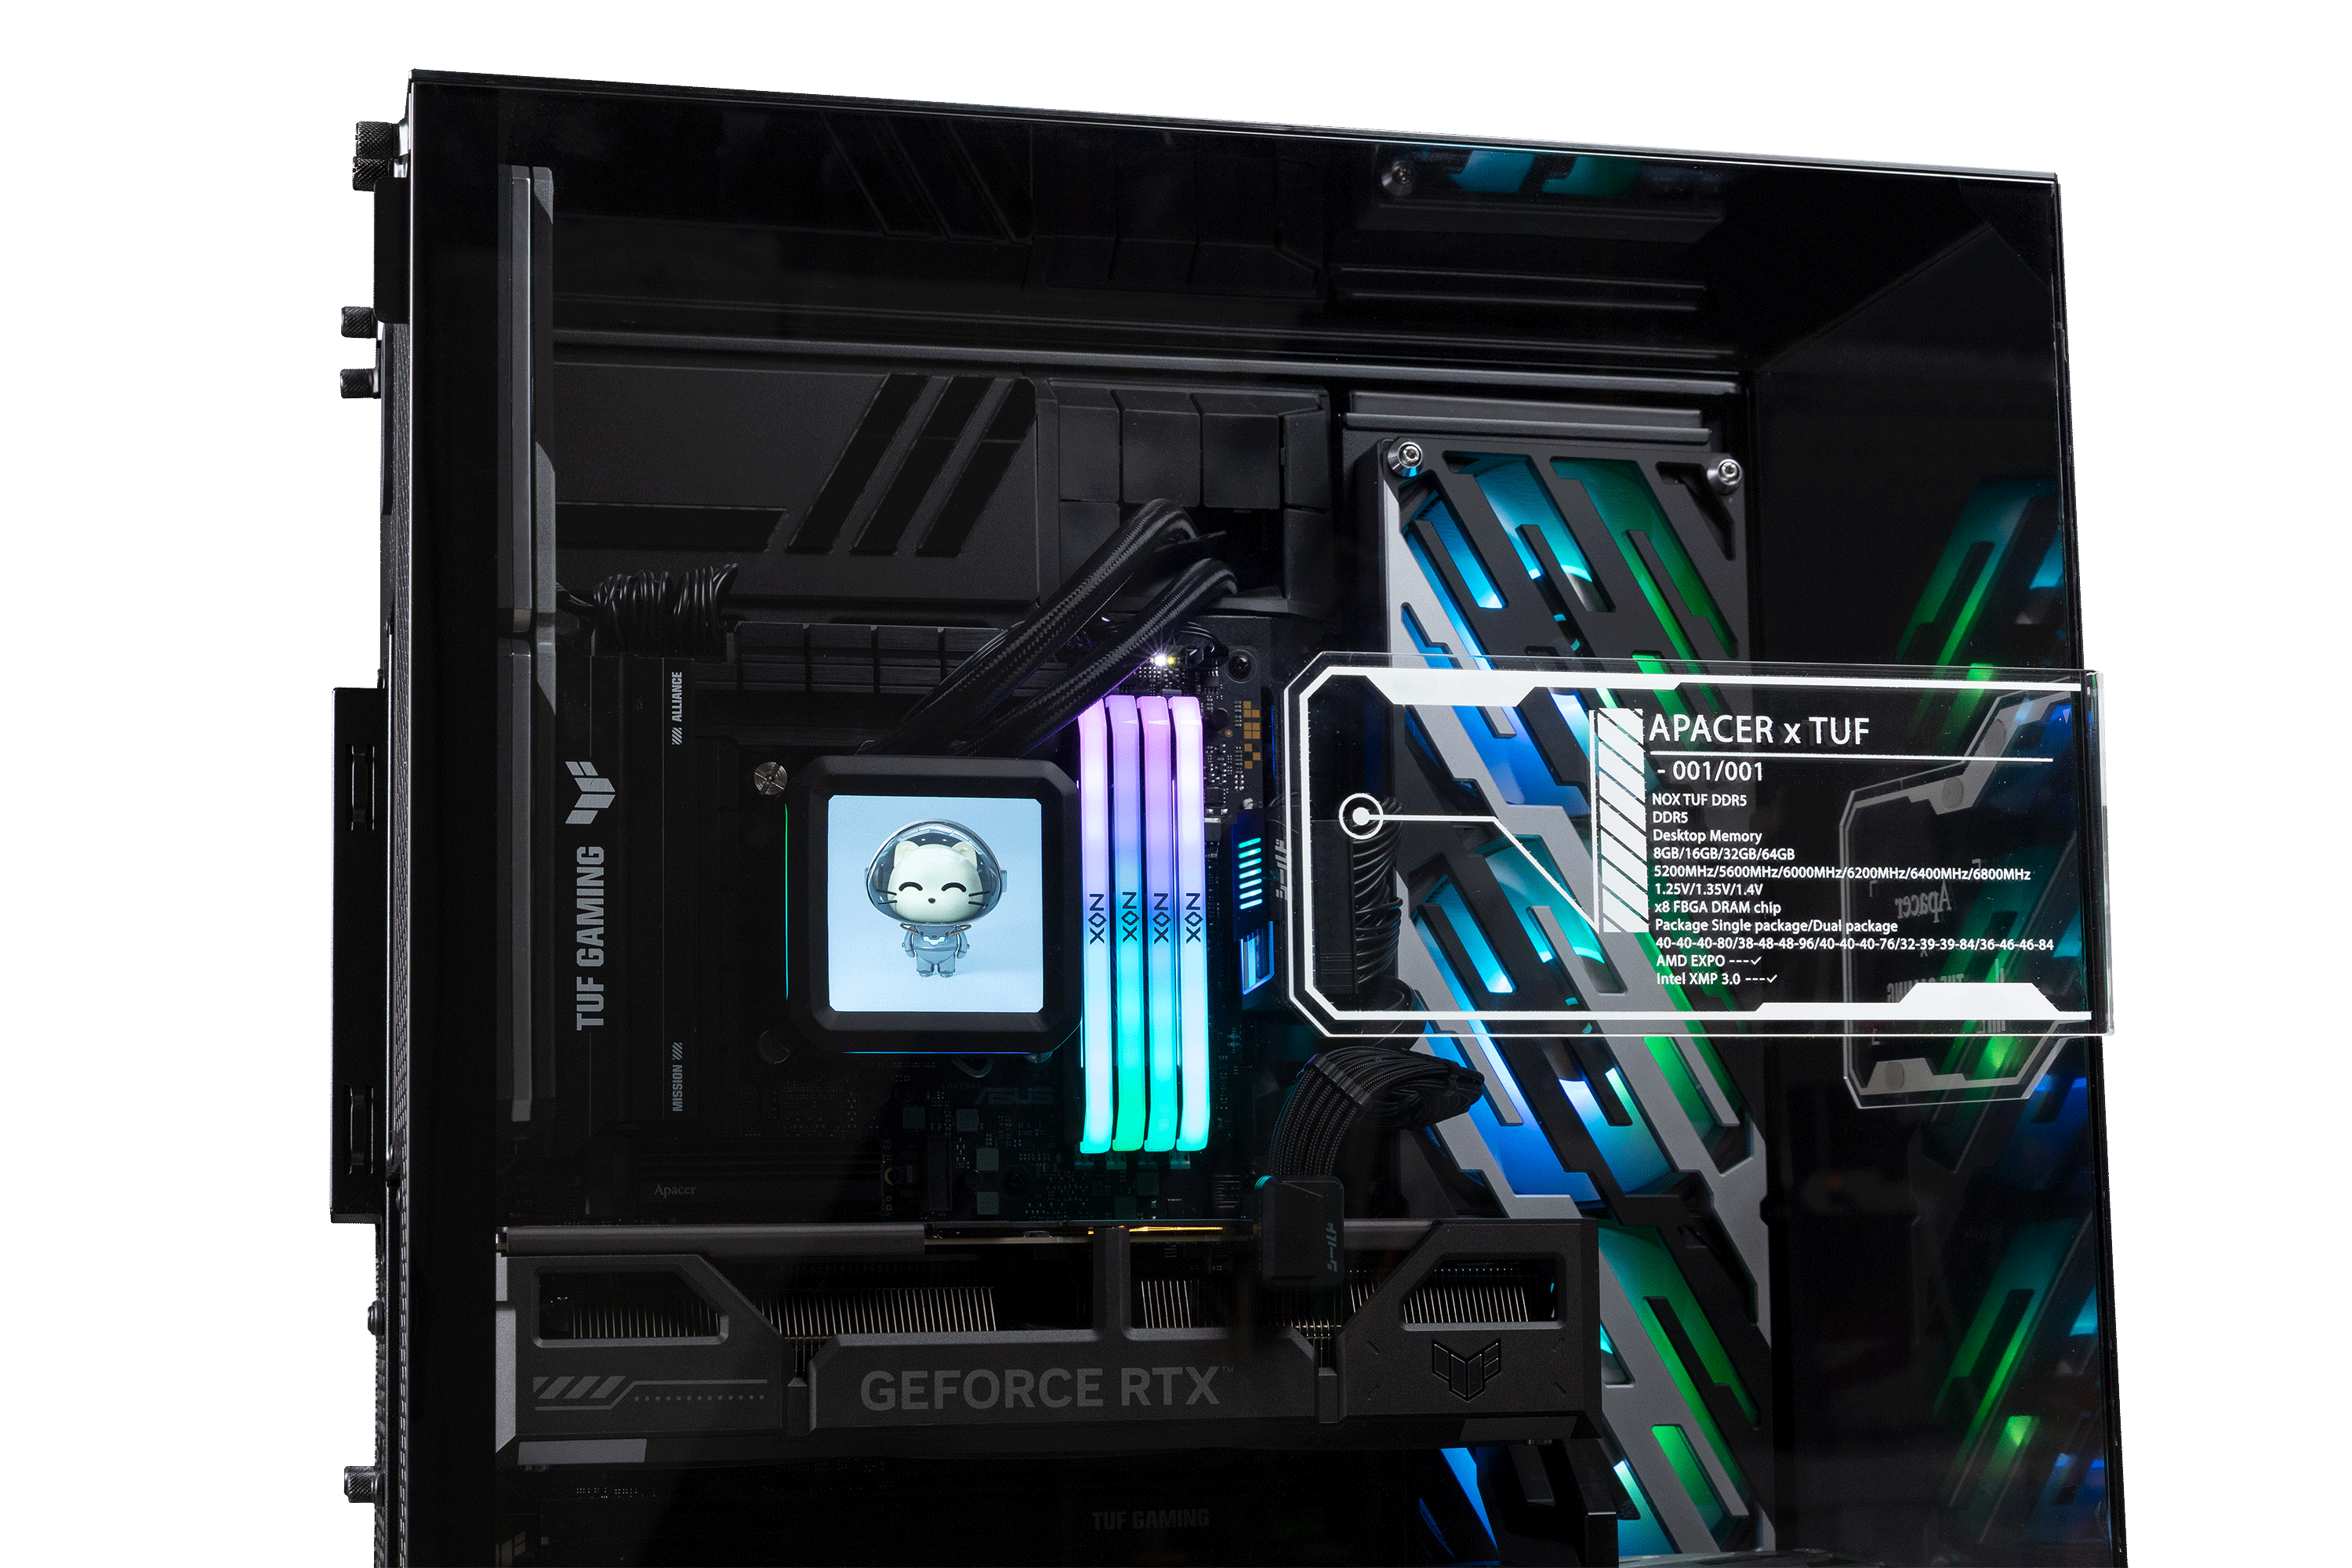
In addition to system airflow, the thermal design of the memory module itself plays a decisive role. The Apacer NOX DDR5 gaming
memory features a premium minimalist aluminum alloy heatsink designed for rapid heat dissipation. This architectural cooling ensures that even when pushing frequencies and voltages during aggressive overclocking, the ICs remain within optimal temperature thresholds to prevent thermal throttling.

Before making any changes, always back up important files. While modern systems are generally safe, unstable memory settings can still cause:
Next, establish a baseline performance profile. This helps you clearly measure improvements after overclocking.
Useful tools include:
Run benchmarks or games you commonly use and record performance results. This baseline becomes your reference point for evaluating gains.
The motherboard plays a major role in how far your RAM can be overclocked. High-quality boards typically include:
For example, high-end boards like the ASUS ROG Maximus series are known for supporting very high DDR5 memory frequencies and advanced voltage control options.
On the AMD side, modern AM5 boards (such as GIGABYTE X870-class models) are designed with improved DDR5 compatibility and better memory stability at higher speeds.
Equally important is the CPU itself. The memory controller is built into the processor, meaning every CPU has a different memory ceiling. Newer Intel and AMD processors generally support higher frequencies and improved stability, but results still vary between individual chips.
Before pushing RAM too far, it’s important to check your CPU’s official memory support limits and real-world overclocking reports from other users with the same hardware.
Before you start increasing memory speed or tightening timings, you need the right set of tools. RAM overclocking isn’t guesswork — it’s all about monitoring, adjusting, and validating stability. These utilities help you understand what your system is doing before and after every change, so you can avoid crashes and data corruption while still getting real performance gains.
One of the most important tools for RAM tuning is CPU-Z. This lightweight utility gives you a clear view of your system’s memory configuration in real time, making it essential for both beginners and advanced users.
CPU-Z displays key RAM information such as:
That matters because the speed shown in marketing (e.g., 3200 MT/s or 6000 MT/s) represents the effective data rate, which is double the physical clock speed. CPU-Z displays the actual memory frequency (e.g., 3000 MHz for a 6000 MT/s kit). It helps you confirm what your RAM is actually running at after enabling XMP or making manual adjustments.
For example, after enabling an overclock profile in BIOS, CPU-Z lets you verify whether:
In short, CPU-Z is your “reality check” tool; it tells you whether your overclock is actually working or just configured incorrectly.
For most users, the easiest and safest way to start RAM overclocking is through XMP (Intel) or EXPO/DOCP (AMD) profiles.
These are pre-configured settings stored directly on the RAM module by the manufacturer. Instead of manually adjusting frequency, voltage, and timings, you can simply enable a profile in BIOS, and the system automatically applies optimized settings.
What XMP/EXPO does behind the scenes:
This approach is popular because it offers:
For most users upgrading their PC, enabling XMP or EXPO is the first and most impactful step in improving RAM performance, often delivering noticeable gains in gaming and general responsiveness without any manual tweaking.
Engineered for instant performance, the Apacer NOX RGB DDR5 gaming memory comes fully equipped with certified Intel XMP 3.0 and AMD EXPO profiles. With a single click in the BIOS, users can effortlessly unleash true overclocking power, reaching blistering performance levels up to 8000 MT/s with all optimized voltages and timings pre-configured.

Once you start changing memory settings, stability becomes the most important factor. A system that boots does not necessarily mean it is stable. This is where MemTest86 becomes essential.
MemTest86 is a professional-grade memory testing tool designed to detect even small errors in RAM operation. It runs outside of Windows, which means it tests memory in a clean environment without interference from the operating system.
What MemTest86 helps you identify:
A key rule in RAM overclocking is simple: No errors = stable configuration (for that test duration)
If MemTest86 detects even a single error, your current settings are not fully stable and should be adjusted.
For practical use:
This tool is what separates “it boots fine” from “it is truly stable under load.”
While CPU-Z and MemTest86 focus on verification and stability, AIDA64 is used to measure performance improvements after overclocking.
AIDA64 includes a built-in memory benchmark that evaluates:
This is useful because RAM overclocking is not just about higher MT/s, it’s about real-world performance gains. AIDA64 helps you see whether your changes actually improved memory throughput or if the tuning only looks good on paper.
Why AIDA64 is useful for overclocking:
However, it is optional. Beginners can rely on CPU-Z + MemTest86 alone. AIDA64 becomes more valuable when you start doing advanced tuning and want measurable performance optimization.
There are two main approaches: the easy automatic method (XMP/EXPO) and the more advanced manual tuning method. Most users should start with the first one before moving to manual adjustments.
The safest and most effective way to overclock RAM is by using pre-configured profiles such as XMP (Intel) or EXPO/DOCP (AMD). These profiles are designed by memory manufacturers and tested for stability, making them ideal for users who want better performance without technical risk.
Step 1: Enter BIOS
Restart your PC and repeatedly press Del or F2 during boot to enter the BIOS or UEFI interface.
Step 2: Switch to Advanced Mode
If your BIOS opens in a simplified interface (EZ Mode), press F7 to switch to Advanced Mode. This unlocks full memory tuning options.
Step 3: Locate Memory Overclock Settings
Navigate to the Overclocking or AI Tweaker / OC section, depending on your motherboard brand. Ensure:
Step 4: Enable XMP/EXPO Profile
Find the memory profile option such as:
Select Profile 1, which is usually the manufacturer’s rated performance profile.
Once enabled, the system will automatically adjust:
Step 5: Save and Reboot
Press F10, confirm changes, and reboot the system. After booting into Windows, your RAM will now run at its rated overclocked speed.
This method alone often delivers a noticeable performance boost in gaming and system responsiveness with guaranteed safety on compatible systems, though stability can still vary depending on your CPU and motherboard.
Manual overclocking is for users who want to push performance beyond XMP/EXPO limits or fine-tune latency and frequency for maximum efficiency. It requires patience and careful testing.
Unlike XMP, manual tuning involves gradually adjusting settings instead of applying a preset profile.
Step-by-step Manual Tuning Process
Step 1: Start from a Stable Baseline
Begin with your current stable XMP/EXPO profile. Do not start from default JEDEC speeds unless you are experienced.
Step 2: Increase Frequency Gradually
Raise RAM speed in small steps, for example:
After each adjustment:
Step 3: Watch for Instability Signs
As you push frequency higher, instability may appear in different forms:
Modern motherboards usually attempt automatic recovery by resetting settings after multiple failed boots. If recovery does not work, you may need to clear CMOS (remove the motherboard battery temporarily or use the reset jumper).
Step 4: Adjust Voltage Carefully
If instability appears, you may need slight voltage tuning.
General Safety Guideline:
Important: Never increase voltage aggressively. Small adjustments are always safer than large jumps.
Step 5: Fine-Tune and Retest
After each change:
If errors appear or the system becomes unstable:
After you’ve enabled XMP/EXPO or manually tuned your RAM, the most important step is not the performance gain, it’s stability testing. Many memory overclocks may look fine at first but can cause crashes, corrupted files, or game instability later if not properly tested.
A stable RAM overclock should handle both everyday use and heavy workloads without errors.
Before running heavy stress tests, start with a quick verification in Windows.
Open: Task Manager → Performance → Memory
Here you can check:
This step ensures that your overclock (XMP/EXPO or manual tuning) is actually applied correctly. For example, if you enabled an XMP profile for 3600 MT/s, Task Manager should ideally display 3600 MT/s. However, because Task Manager sometimes misreports the effective speed or conflicts with certain platforms, using CPU-Z remains the best way to double-check your real-time DRAM frequency and timings accurately.
While Task Manager is not a stability tool, it is a quick sanity check before deeper testing.
To confirm real stability after overclocking RAM, you need dedicated stress-testing tools. A system that boots into Windows is not enough; true stability is only proven under sustained memory load. Two of the most widely used tools are MemTest86 and TestMem5 (TM5).
MemTest86 – Hardware-Level Testing
MemTest86 is one of the most trusted tools for detecting RAM errors at the hardware level.
It is especially valuable because it runs outside of Windows, meaning:
Why it’s important:
How to use it:
If your system completes MemTest86 with 0 errors, your RAM is generally considered stable at a basic hardware level.
TM5 (TestMem5) – Real-World Stress Testing
TestMem5 (TM5) is an advanced in-Windows memory stress test widely used by PC enthusiasts and overclockers.
Unlike MemTest86, TM5 runs inside Windows, which makes it:
Why it’s important:
How to use it:
In many cases, TM5 is even stricter than MemTest86, especially when RAM is pushed beyond XMP/EXPO settings.
Passing these relentless tests is the ultimate proof of a premium module. The Apacer NOX TUF RGB DDR5 gaming memory is built to survive such brutal TestMem5 stress workloads, delivering rock-solid stability under maximum load. Furthermore, it achieves this reliability without sacrificing aesthetics, boasting a striking industrial design with vibrant RGB lighting that complements any high-performance gaming rig.
Hopefully, with the steps above, you can confidently overclock your RAM safely and effectively. By following each step carefully and testing stability properly, you can improve your system’s performance while keeping it stable and reliable for long-term use.